








ShenZhen E-BON Industrial Co..Ltd
-Professional manufacturer for the stainless steel products

A French shaker seals with nothing but two pieces of steel — no threads, no lugs, no gasket. That means only two things can go wrong: it leaks while you shake, or it locks shut after you do. Both come from the same set of dimensions. This is the engineering behind that joint: why it has to be a shallow cone rather than a press fit, the four values E-BON sets before cutting tooling (8–12 mm engaged length, 2°–3° taper per side, 0.10–0.25 mm interference, 0.5–1.0 mm axial clearance), why roundness rather than diameter is what buyers feel, why the mouth needs a separate sizing die after springback, and why a plated version cannot share the same mouth dimension as an unplated one.
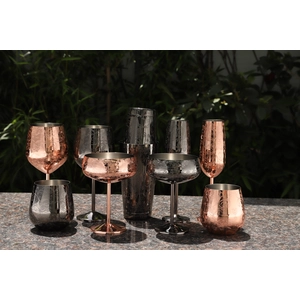
Consolidates the etched-tumbler cluster from the 40-topic pool (production checklist, artwork requirements, defect prevention) into one buyer-facing guide: what etching is and how it differs from printing/debossing/embossing, artwork file requirements before quoting, defect-prevention checkpoints specific to etched surfaces (etching depth, edge deburring, pattern registration, cross-finish consistency), and MOQ/packaging using the real egg-shaped 20oz 304 stainless tumbler as a reference spec.
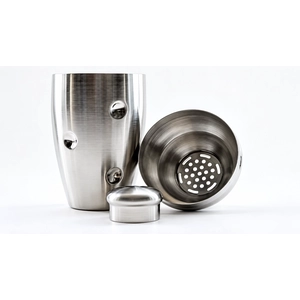
Explains the material difference between 304 and 201 stainless steel, why 201 shows up in aggressively priced barware quotes, where the difference actually shows up after an order ships (corrosion, finish stability, the unreliable magnet-test shortcut), and gives buyers a concrete way to confirm grade in writing before comparing supplier quotes.

Gives B2B barware buyers a practical way to tell a manufacturer from a trading company, explains what ISO 9001, Sedex 4-Pillar, and BSCI audits actually verify, and covers third-party testing and export documentation to confirm before sending an RFQ.
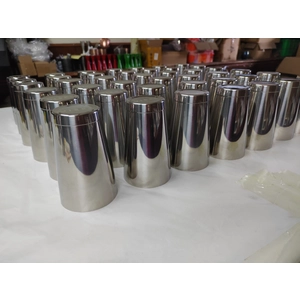
A practical quality control checklist for importers and private label brands inspecting cocktail shaker samples and bulk lots. It covers approved references, Boston and Cobbler fit, leak testing, formed edges, dimensions, capacity, finishes, logos, function, packaging, defect records and lot release.
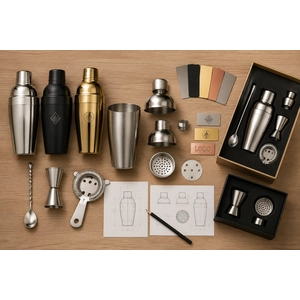
This BOFU comparison helps cocktail shaker buyers choose OEM, ODM or a hybrid route by identifying who owns the product definition, what must be developed, how samples differ and what information a manufacturer needs for an accurate quotation.
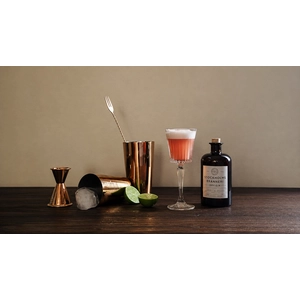
A BOFU guide for private label barware brands defining how to specify, sample and quote a custom cocktail shaker set while keeping its components, finish, branding, packaging and repeat orders under one product system.

French press sediment does not come from one cause. This article separates normal metal-filter silt from excess sludge and visible grounds, then shows how grind distribution, mesh fineness, filter layers, edge fit and plunger resistance help identify the source.
A practical French press answer page with an interactive ratio calculator, water-based ratio chart, six-step daily method, ratio and brew-time adjustments, grind guidance, and direct fixes for bitter, weak, sour, muddy, or sediment-heavy coffee.
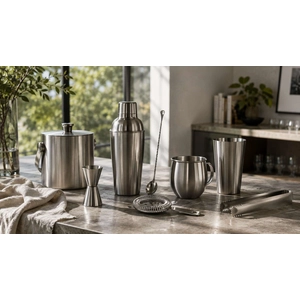
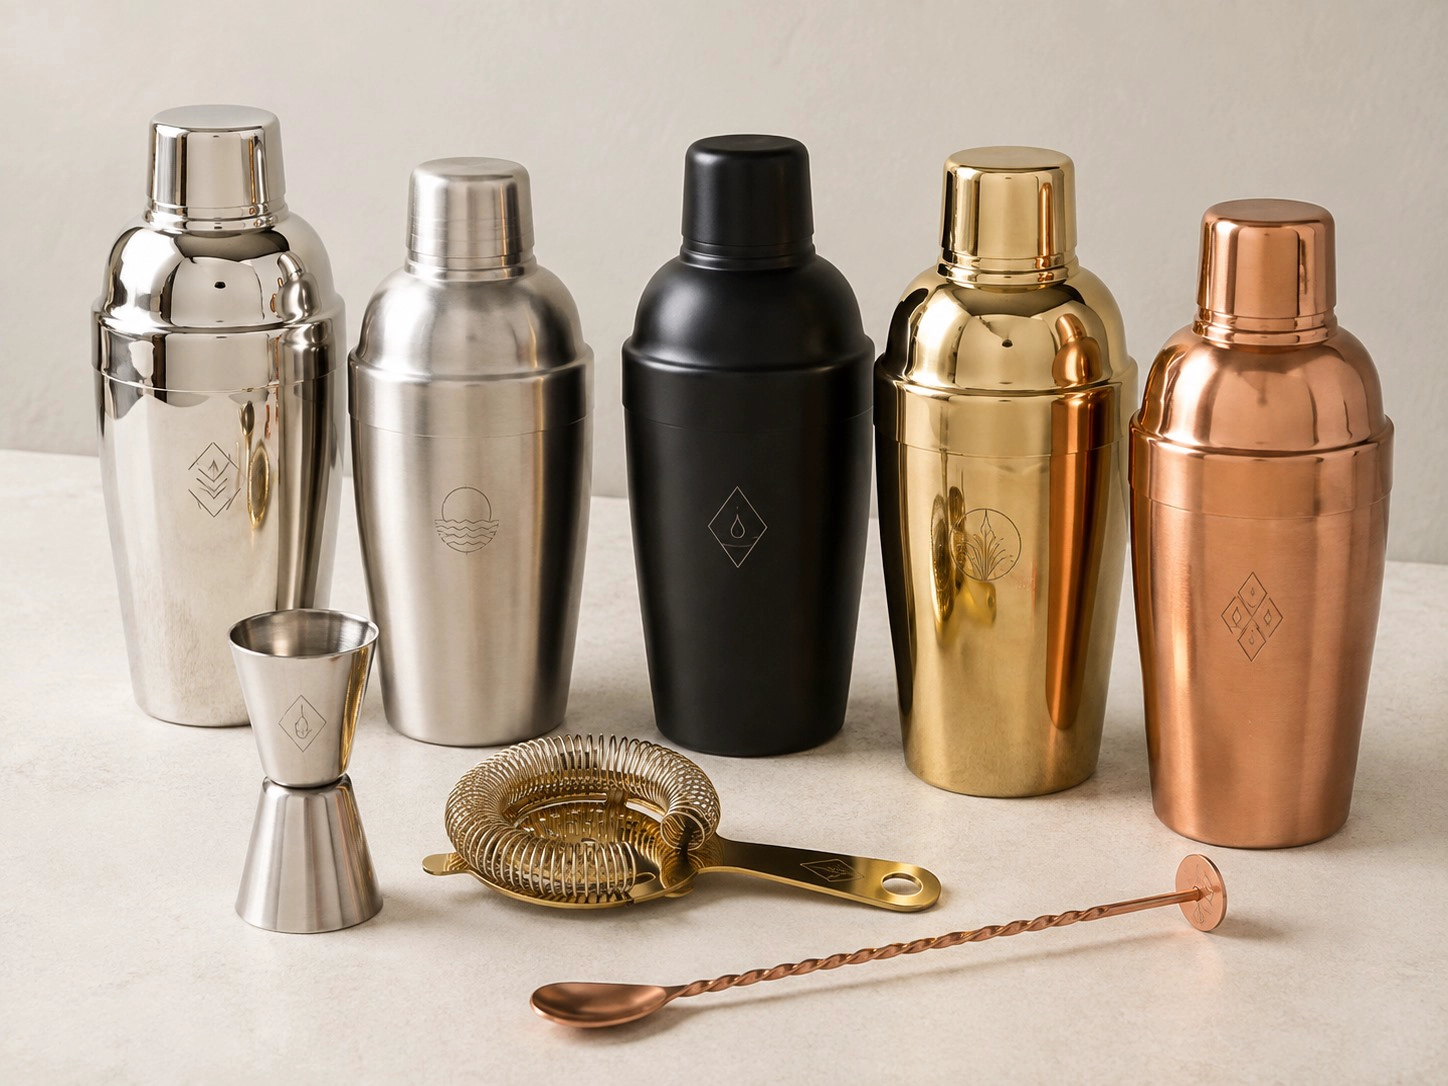
A practical framework for turning multiple shakers, jiggers, strainers, mugs and accessories into one recognizable barware collection through shared design anchors, controlled variation and range-level sample approval.
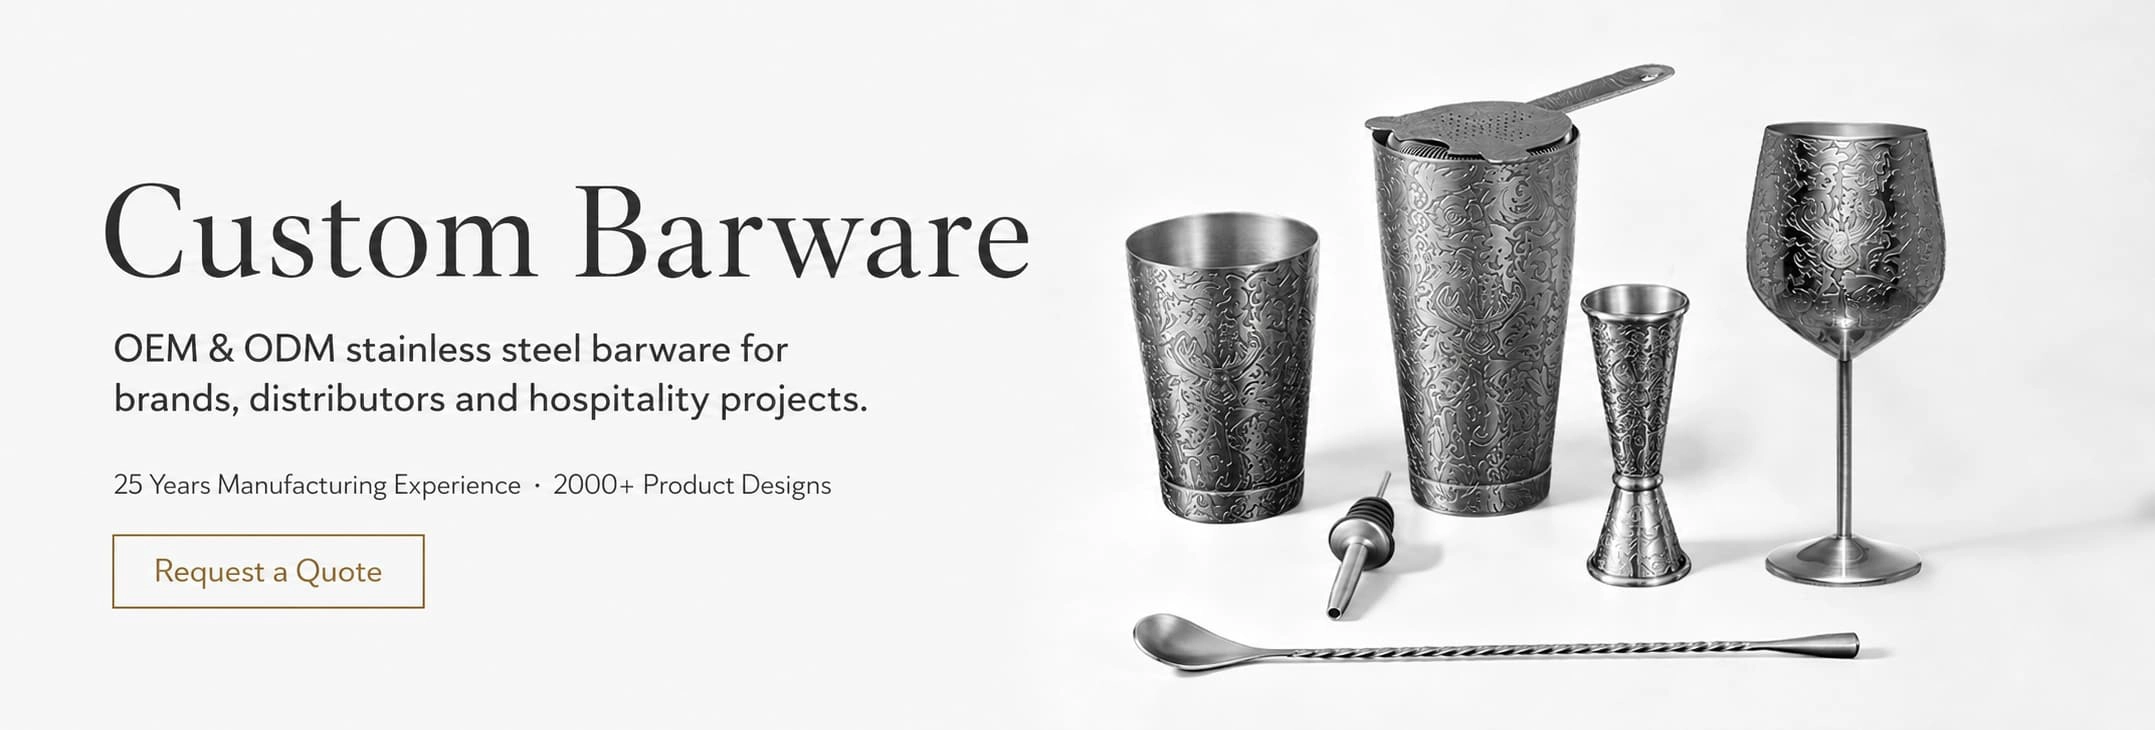
E-BON develops custom cocktail shaker sets for private label barware brands, with project options covering shaker format, component selection, material, size, color, finish, custom logo application, packaging, sampling and mold development. To begin a quotation, a buyer should provide the intended set position, shaker type, component list, expected quantity, brand references and packaging direction.
Our working principle is to develop the set as one product rather than place several available tools in the same box. The shaker architecture, component relationships, finish and logo hierarchy, packing layout, sample approval method and repeat-order logic need to work together. The piece count comes after those decisions.
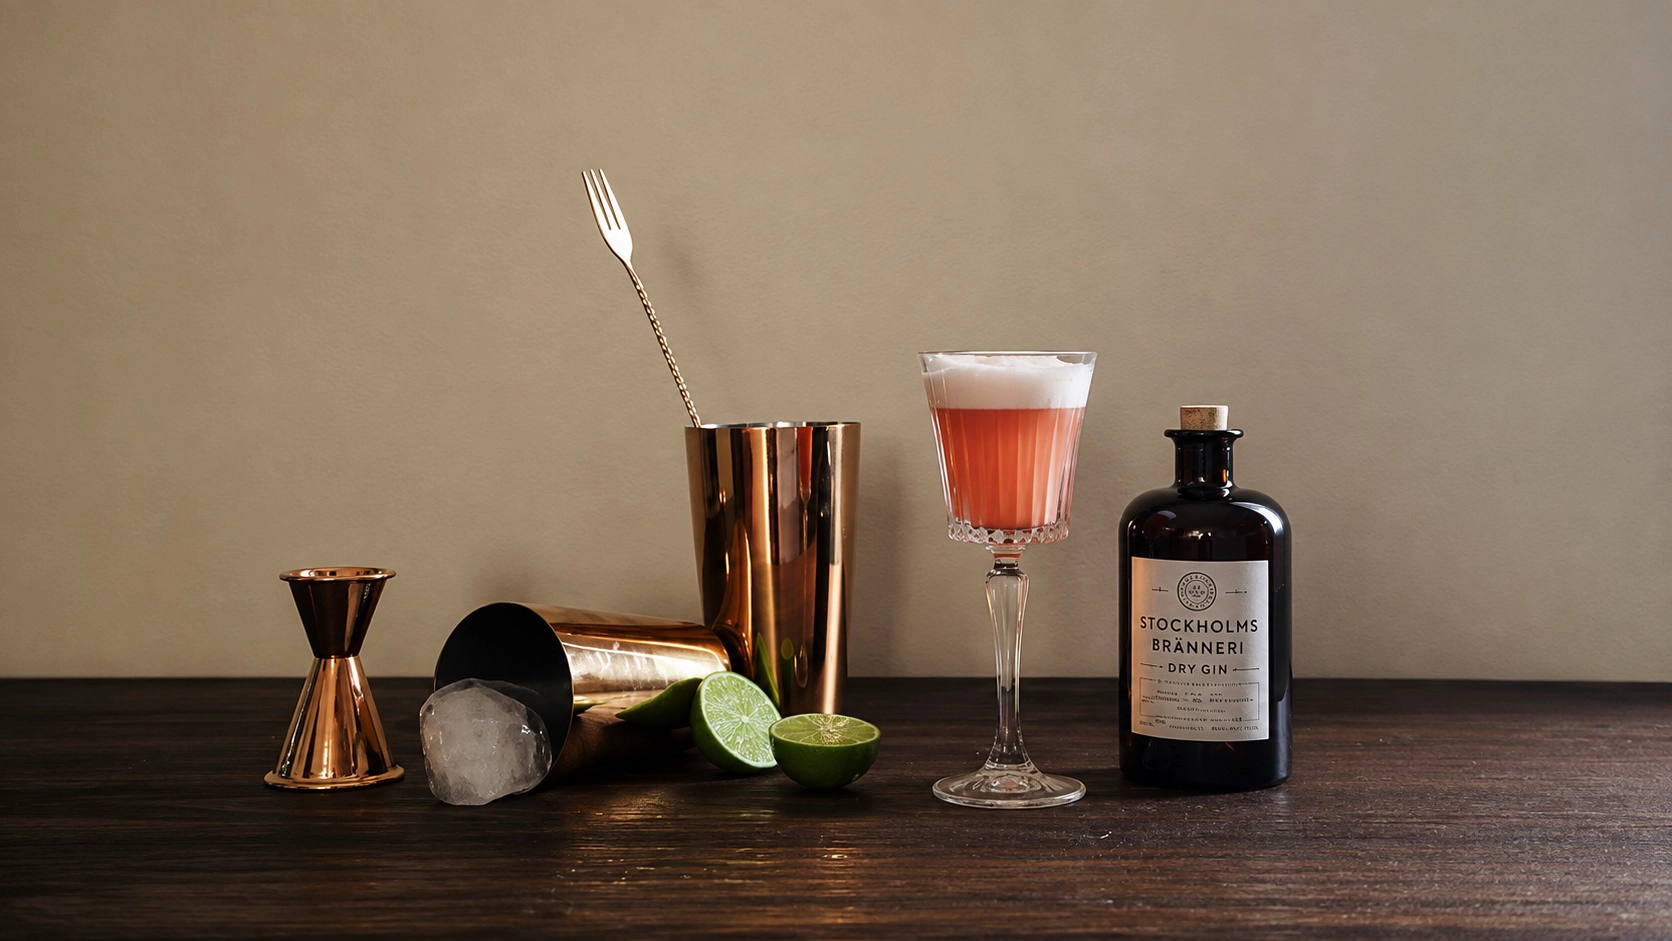
Commercial starting point: for one current stainless steel cocktail shaker set configuration, the MOQ starts at 100 sets and the sample lead time is 3–7 days. Special structures, new molds, PVD finishes, customized components and retail packaging are quoted according to the confirmed specification; the same MOQ and sample schedule do not apply automatically to every project.
“Cocktail shaker set” describes a product family, not a finished specification. Before a custom cocktail shaker manufacturer can quote the right product, the buyer needs to define the market position and the parts of the set that are fixed, flexible or still open to supplier input.
A retail starter kit, a professional working kit, a spirits promotion and a premium gift set should not use the same component logic. Decide what the customer must be able to do when the box is opened and which item leads the product. In most sets, the shaker is the hero. If a stand, presentation box or distinctive jigger creates the recognition instead, make that hierarchy explicit before artwork and packaging begin.
The shaker format changes what the set needs. A tin-on-tin Boston shaker requires a separate strainer and benefits from tools selected for a faster working sequence. A Cobbler shaker already contains a strainer lid and cap, which can support a compact kit but introduces fitted parts that must open, close, pour, and return to the correct body consistently.
Do not choose the shaker only from an isolated product photo. Check how the intended user grips it, seals it, opens it after chilling, strains the drink, washes the parts, and stores or repacks the set. Our Boston versus Cobbler shaker comparison covers the operating differences in detail. For a private label set, the important next question is what those differences require from every accompanying component.
Our default development position: choose the shaker architecture first, then build the kit around its actual workflow. Do not select ten accessories and force the shaker to fit the remaining space in the box.
In custom cocktail shaker sets, component selection should remove friction or complete the promised use. It should not be a contest to reach the largest number. The following configurations are starting architectures, not fixed catalog sets.
| Set position | Component logic | Main approval risk |
|---|---|---|
| Professional working kit | Tin-on-tin Boston shaker, jigger, Hawthorne strainer and bar spoon; add fine straining or muddling only when the intended menu requires it | Tin pairing, rim condition, strainer fit, measurement readability, grip and fast cleaning |
| Compact retail starter kit | Cobbler shaker, jigger and a small number of tools that complete a simple drink-making path | Lid release after chilling, cap retention, built-in strainer flow, instructions and unnecessary duplicate tools |
| Brand-led premium set | Selected shaker architecture with a restrained tool group, coordinated finish and presentation packaging | Finish variation, logo scale, tool alignment in the insert and presentation that looks premium after transport |
| Promotional or campaign set | Recognizable shaker plus only the components needed for the campaign drink or brand ritual | Brand visibility, artwork durability, packing speed, distribution conditions and usefulness after the promotion |
Several tools can perform overlapping jobs. A Cobbler lid already provides first-stage straining. A separate Hawthorne strainer may add little unless the set also supports a Boston tin or a specific presentation. Multiple pourers, openers, spoons, tongs, muddlers, and strainers should earn their place through the product promise. Removing one weak component often improves the set more than adding another inexpensive tool.
Compatibility must also be physical. The Hawthorne strainer should sit correctly on the intended tin. The jigger markings must remain readable at the chosen finish and branding position. Long tools need an insert that prevents movement without bending them. A stand must hold the actual production dimensions rather than a reference sample from another supplier.
A matching color name does not make a coordinated set. The specification needs to separate shared brand decisions from component-level requirements.
At set level, lock the finish family, gloss direction, logo hierarchy, packaging palette, and acceptable visual variation. At component level, keep the material, dimensions, capacity, edge condition, balance, fit, functional markings, and manufacturing route appropriate to each tool. A shaker body, small jigger, flat strainer, and thin spoon cannot always use the same decoration at the same size and position.
Build an artwork map for the assembled set. It should show which item carries the primary logo, which items use a simplified mark, which surfaces remain unbranded, and how every logo is oriented when the tools sit in the package. The application method can vary by surface. Laser, screen print, decal, etching, molded and embossed marks behave differently on curved bodies, small tapers, coated finishes, handles and packaging. Use the custom barware logo method guide to choose the process after the branding role and surface are known.
If the shaker set belongs to a wider range of mugs, strainers, ice buckets or serving pieces, the collection needs another level of control. Our barware collection consistency guide explains how to preserve one visual language without forcing every SKU into the same shape or decoration.
Packaging is part of the product architecture because it controls presentation, protection, counting, and the customer's first understanding of the set. The insert needs to follow the real dimensions and contact points of every component. Rims, coated surfaces, fitted lids, long spoon handles, and polished tools should not be allowed to strike each other during transport.
The open-box view should also explain the hierarchy immediately. The shaker should not be hidden beneath secondary accessories if it is the hero. Logo orientation, tool order, empty space, instruction placement, and the way a customer removes each item all affect whether the set feels designed or merely packed.
Packaging development should begin with the component plan, then be confirmed with production-representative samples. A box approved around early reference products can fail when the final coating, handle length, tin diameter, cap geometry, or protective sleeve changes. The packed sample is the unit the buyer will sell; it deserves its own review.
Each component needs its own specification, but the approval decision must include the assembled set. A technically acceptable shaker, jigger and strainer can still fail together through finish mismatch, duplicated functions, inconsistent logo weight, poor fit in the insert, or a package that cannot protect the contact points.
We would review the set in three passes. First, test the working sequence: measure, build, seal, shake, open, strain, pour, clean and reset. Second, compare finish, logo, markings, grip and balance across the tools. Third, pack the complete set, close it, reopen it, and confirm orientation, count, protection and presentation.
The approval record should identify the exact component versions, artwork files, finish references, package layout, insert structure and any accepted variation. If one item changes after approval, determine whether the change affects only that tool or the whole set. A new shaker diameter can alter the insert. A new finish route can change the visual match. A different strainer can change both workflow and packaging.
For the distinction between an early development sample and the version that releases mass production, use our barware pre-production sample checklist.
MOQ and timing need to follow the actual specification. An existing set configuration can support a lower starting quantity and a shorter sampling route than a project requiring new tooling, a special PVD finish, redesigned components or fully customized retail packaging. The commercial starting point shown above applies only to that current configuration; the production schedule and other terms are confirmed after the complete specification and quantity are reviewed.
Before bulk production of custom cocktail shaker sets, approve the assembled sample and keep every component under its own controlled identity. The component list should retain model references, approved materials, finish standards, artwork versions, packaging files and the relationship between parts. “Same as last order” is not enough when the set contains tools produced through different processes.
Decide in advance how replacements and variations will work. Can a damaged jigger be replenished without changing the rest of the kit? Can the brand launch a new color while retaining the same component architecture? Which visual references must be compared when one process changes? These decisions affect whether the product can become a stable range or remains a one-time promotional assembly.
E-BON supports OEM and private label cocktail shaker development across design, material, size, color, finish, logo, packaging, sampling and mold development within the confirmed project scope. Review our stainless steel cocktail shaker range for a starting product direction.
Request a custom cocktail shaker set quotation. Send the intended market position, preferred shaker format, component list, material and finish direction, logo file, packaging requirements, expected quantity and destination market. We will use that brief to define the relevant sample route, confirm project-specific MOQ and timing, and identify the specifications that must remain linked across the set.