For bulk cocktail shaker orders, inspect fit and seal first, then leakage, rims and formed edges, dimensions and capacity, surface finish and logo, functional operation, and final packaging. A useful cocktail shaker quality control checklist must show how to perform each check and what happens when the production lot does not match the approved result. A polished shaker with an unstable seal is not commercially acceptable, and a functional shaker with the wrong logo or damaged retail packaging is not ready for a private label channel.
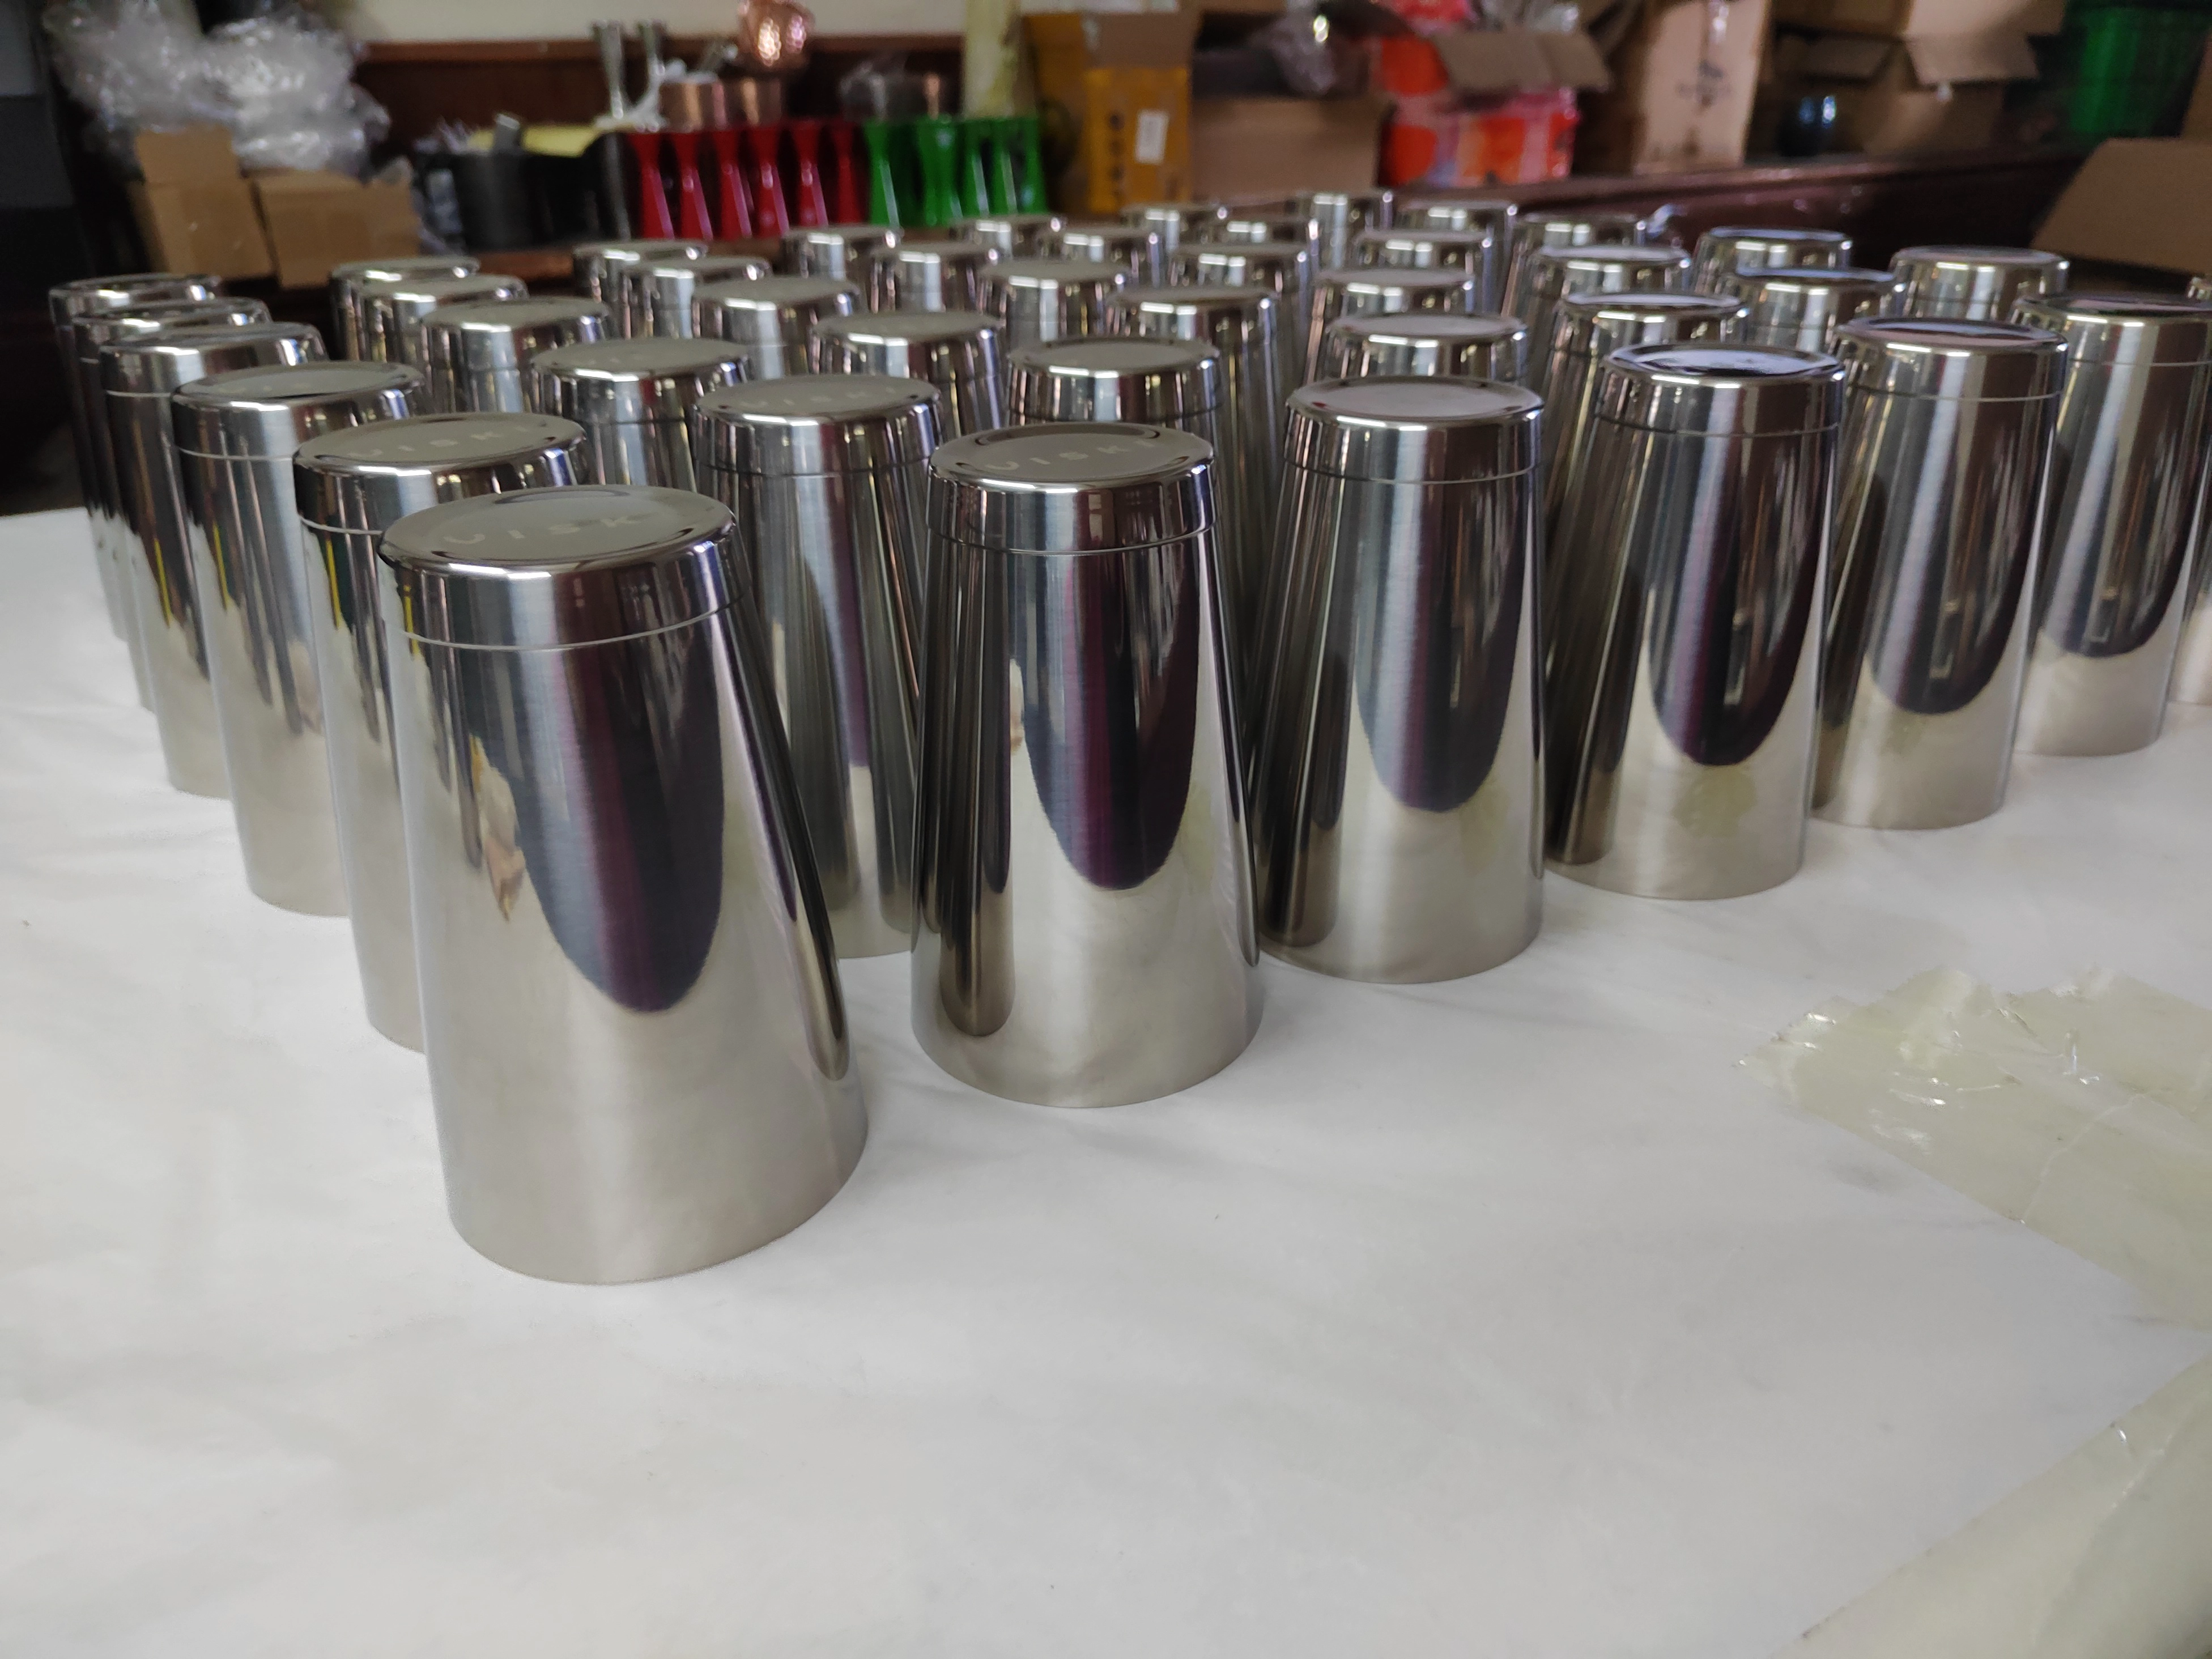
Before Inspection: Lock the Approved Reference
Before opening the inspection cartons, identify the current approved sample, product specification, drawing where applicable, final logo artwork and packaging version. The inspector should also have the correct item number, color or finish reference, set contents and purchase-order requirements. If an old sample, a revised drawing and the current artwork do not agree, stop and identify which version controls production.
Use the same references for sample approval and bulk inspection. Select production units according to the sampling plan agreed for the order, and apply the specified inspection level, AQL and defect classifications when making the final lot decision. The checklist below does not impose one tolerance or sampling percentage on every project.
1. Fit and Seal
Fit and seal are the first release checks because they determine whether the shaker can complete its basic job. Test the assembled product, not only the separate metal parts.
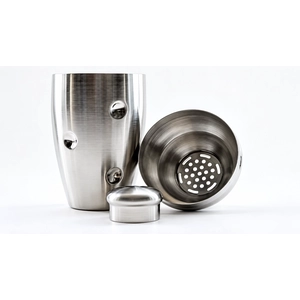
Cobbler shaker
- Fit the strainer lid to the correct body and confirm even engagement.
- Check whether the cap is loose, unstable or easy to dislodge.
- After a chilled shake, confirm that the lid and cap can still be removed normally.
- Remove and reinstall the strainer lid several times to identify abnormal tightness, distortion or mismatch.
Boston shaker
- Pair the two specified tins and confirm that they form a stable seal.
- Shake the assembled tins and inspect the full contact area for leakage.
- Break the seal using the normal operating motion; the tins should release without excessive force.
- Rotate and inspect both rims for dents, flat spots or deformation that makes pairing inconsistent.
Compare several sampled units rather than proving that one pair works. Boston tins from the same lot should not produce one easy seal, one weak seal and one pair that locks together. Cobbler bodies, lids and caps are related dimensions and should remain interchangeable within the approved product requirement when interchangeability is part of the order.
2. Run a Simple Leak Test
Fill → Seal → Shake → Inspect the joint
- Fill the shaker to the reference level agreed for the test.
- Assemble the correct lid, cap or paired tin using the normal method.
- Shake through a consistent operating cycle.
- Inspect the cap, lid-to-body connection and Boston tin contact area before opening.
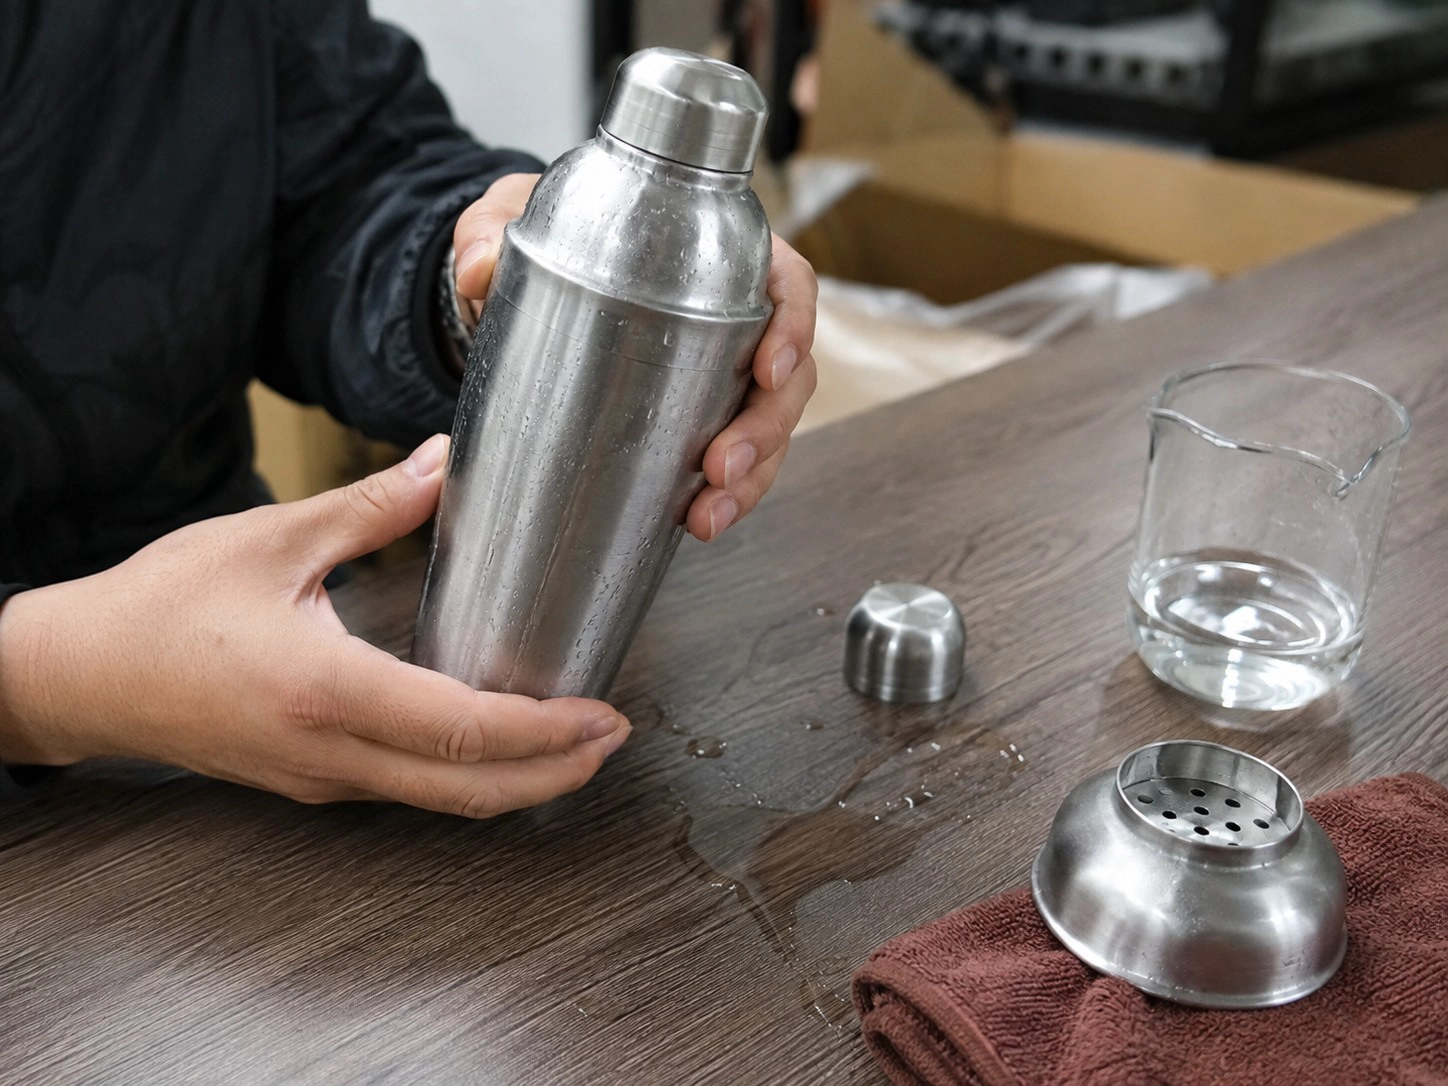
Record droplets, wet lines or visible spray by location. Do not wipe the product before identifying the source. If leakage is repeated, inspect rim form, cap or lid engagement, coating buildup and component pairing before treating it as an isolated assembly error.
3. Rim, Edge and Forming Quality
Inspect the drinking and handling edges, trimmed openings, lid edges, tin rims, base and major formed surfaces. Look and feel carefully for burrs, sharp edges, uneven rims, poor trimming, dents and deformation. Rotate the shaker under direct light; a change in the reflected line often makes a dent or uneven form easier to see.
Separate appearance defects from defects that change fit or handling. A dent near a Boston rim can make the seal unstable. An uneven Cobbler body opening can change lid engagement. A sharp or unfinished edge requires immediate attention even when the rest of the product looks acceptable.
4. Dimensions and Capacity
Compare production units with the approved sample, current drawing and order specification. Measure the control points that affect use, assembly or packaging:
- overall height;
- body and opening diameter;
- stated capacity using the defined fill point;
- weight when it is an agreed project requirement;
- dimensions that control lid, cap, tin or packaging fit.
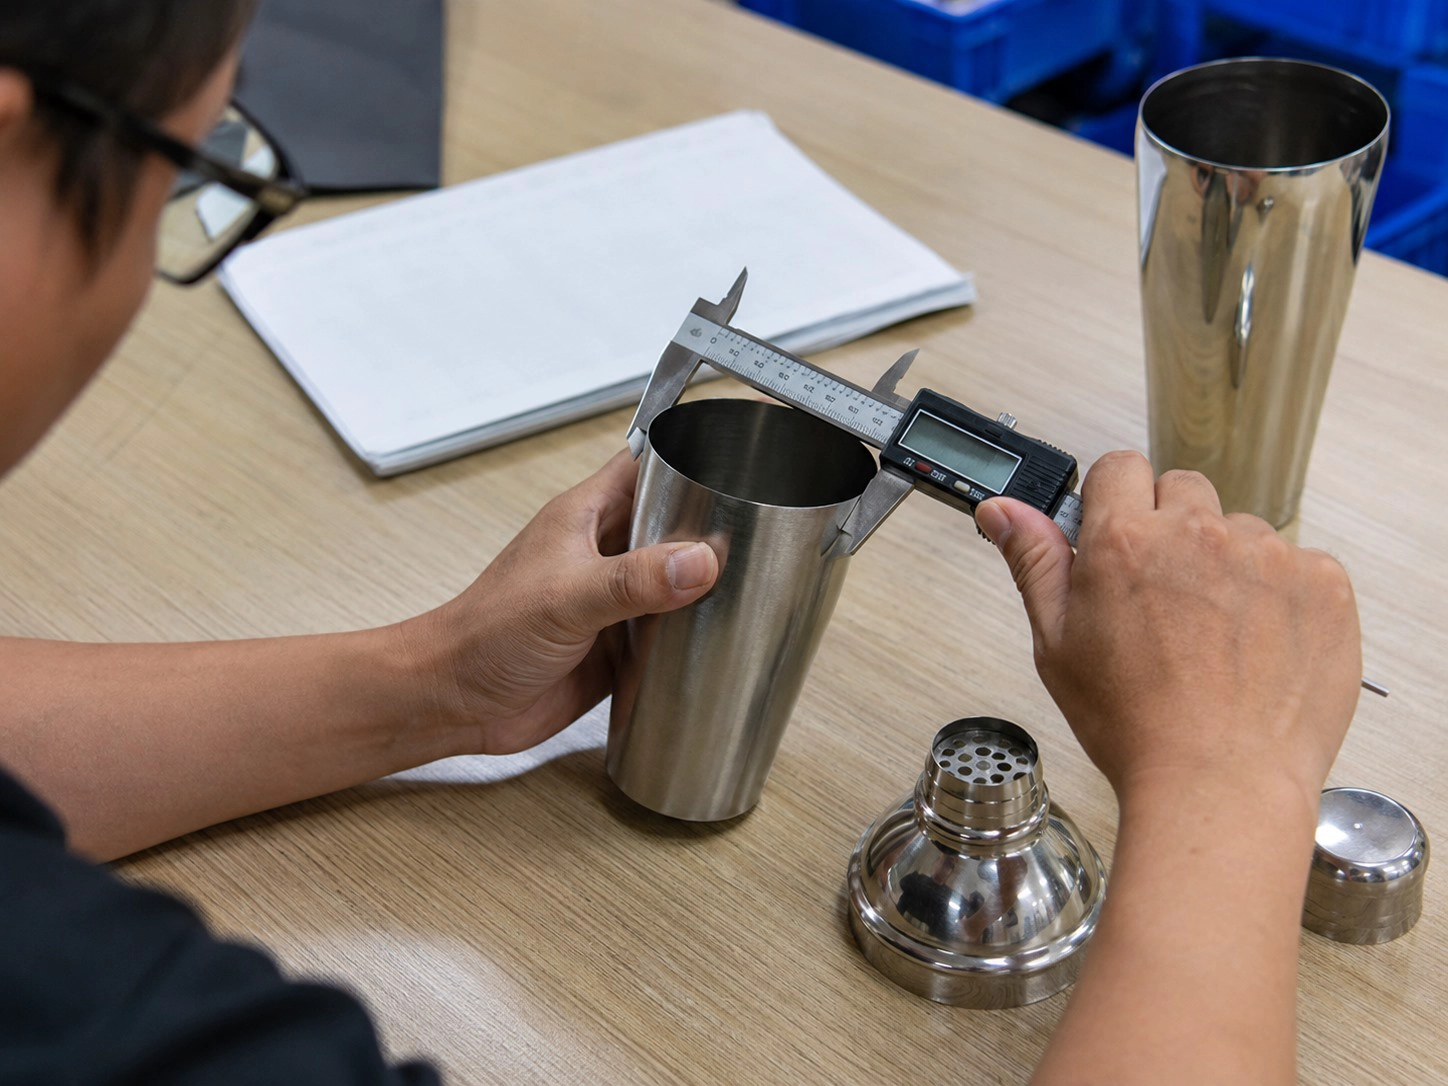
For capacity, lock the fill reference, tare the empty shaker or record its empty weight, add water to the defined point and record the net water weight. Compare the result with the order tolerance. Do not change the fill point between units.
A dimensional change that alters the shaker structure is more than a logo adjustment. The cocktail shaker OEM vs ODM guide explains when a project moves from existing-product customization into buyer-specific product development.
5. Surface Finish and Logo
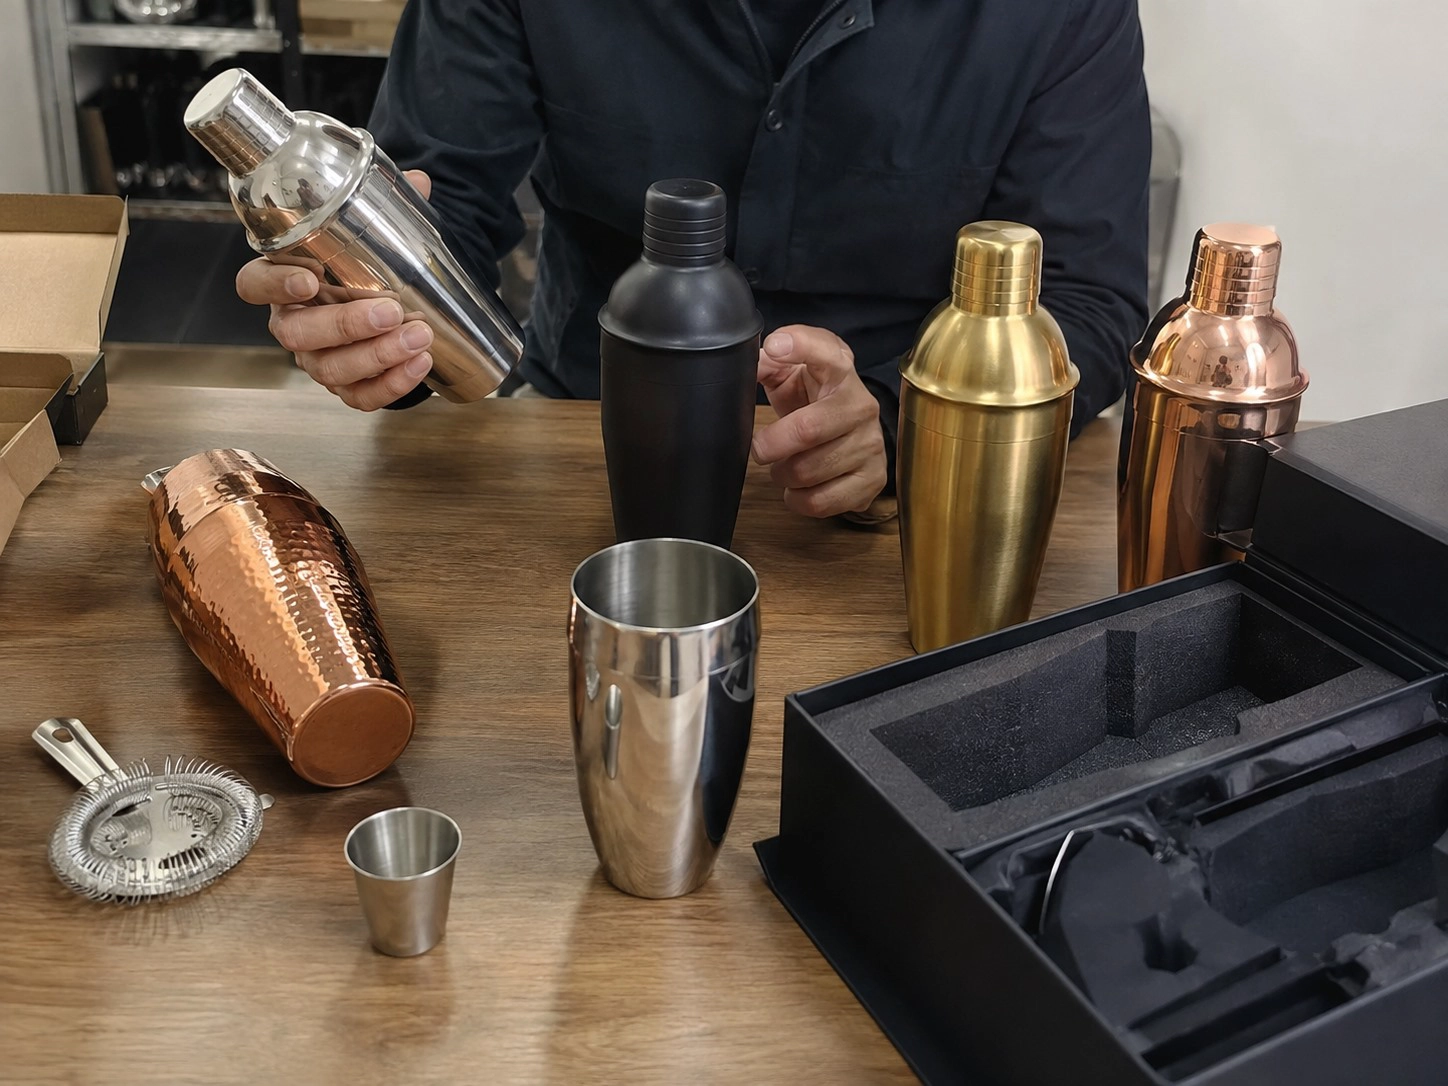
Inspect the batch under consistent light and compare units side by side with the approved finish reference. Check polishing or brushing consistency, scratches, dents, plating or PVD color difference, coating coverage, particles, pinholes, exposed areas and visible handling marks.
Then check the final production artwork: logo version, size, position, orientation, clarity, contrast and alignment to the shaker body. The inspection question is batch consistency. A logo can be individually readable yet still fail the order when its position drifts across the lot or its orientation changes relative to the lid, handle, seam or packaging display.
6. Functional Check
Operate every moving or fitted part through the sequence the buyer will use:
- confirm strainer holes are open and formed cleanly;
- remove and replace the Cobbler cap;
- engage and release the lid;
- pair, seal and separate Boston tins;
- pour through the intended opening without abnormal obstruction;
- check that internal corners, holes and fitted areas can be cleaned as specified.
Function should be checked after the visual inspection because coating, deformation and poor trimming often explain why a part does not fit or release correctly. Record the physical cause where it can be identified instead of reporting only “hard to open.”
7. Packaging and Final Lot Check
Before lot release, verify the correct model, quantity, accessories, logo version, individual packaging, retail box, insert fit, labels, barcode and shipping-carton marks. Pack and reopen a complete unit to confirm that the insert holds the product and that metal or coated surfaces cannot strike each other during transport.
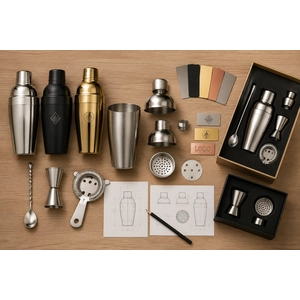
For multi-piece kits, compare the complete packed configuration with the approved set rather than checking components in isolation. The custom cocktail shaker sets guide covers component relationships and assembled-set approval in more detail.
Defect Recording and Lot Release
Record each defect by product identity, location, observed condition and failed reference. “Poor quality” is not enough. State whether the problem is a distorted rim, loose cap, leaking joint, incorrect dimension, finish variation, wrong logo, missing accessory or damaged insert, and retain photographs that connect the defect to the sampled unit or carton.
Compare the defect counts with the agreed sampling and AQL plan. If the lot fails, hold the affected goods, identify the scope, complete the required sorting, rework or replacement, and inspect the corrected result again. Recheck connected functions as well as the visible defect: a replaced lid needs another fit and leak test, polishing can alter the surrounding finish, and repacked coated tools need another surface-protection check.
To prepare a project-specific cocktail shaker QC checklist, send the shaker type, lot quantity, approved sample or specification, finish and logo version, packaging files and required inspection standard. E-BON can align the inspection points with the actual product structure and private label requirements.